
Apple Pay is not exactly new; it’s been around since 2014. Nowadays, this very convenient payment option is accepted in countless retail outlets, can be used for in-app purchases, and also works for public transport! What’s more, it’s one of the most secure payment methods and can be used for contactless payments using just your iPhone.
For anyone on the go who’s tired of carrying around cards, this is your solution. While wallet phone cases and stick on card holders can bring some convenience, contactless payment is even easier. Eliminate the need to carry around cash and cards by setting up Apple Pay on your iPhone.
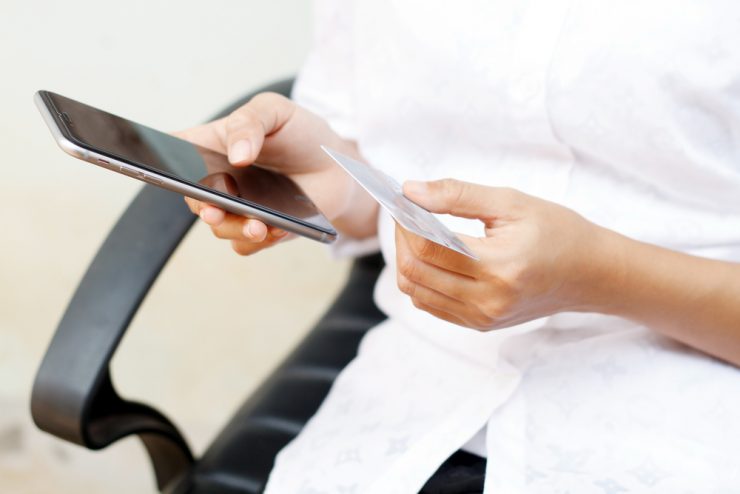
How does Apple Pay Work?
Apple Pay can be used securely in most retail outlets, restaurants, public transport, vending machines, in-app purchases from your iPhone, and beyond. With certain changes in iOS and with more and more banks supporting Apple Pay, this method of payment has easily become one of the most convenient methods.
Apple Pay can be used for contactless payments where contactless card readers are available, so you don’t need your credit or debit card with you. It can also be used for purchases within apps on your iPhone using just the touch ID or the face recognition feature for authentication. Also, peer-to-peer instant payments through iMessage, Apple’s messaging app, are also functional with iOS 11.2 or later.
All in all, whether you are a new iPhone user or someone who has never used Apple Pay on their iPhone, now is a good time to start using it.
How to Setup Apple Pay on an iPhone
Setting up Apple Pay on your iPhone is fairly easy. All you need is:
- iPhone 6 or other advance variants
- iOS updated to version 8.1 or above
- Your credit, debit, or prepaid card from a participating bank or card issuer
- Apple ID logged into iCloud from your iPhone
Setting up Apple Pay
To set up your cards for Apple Pay on your iPhone, follow these simple steps:
Step 1: Go to Settings on your iPhone and go to ‘Wallet and Apple Pay’. If your device has an earlier version than iOS9, you will need to go to ‘Passbook and Apple Pay’.
Step 2: Tap the ‘+’ sign or ‘Add Card’ to add your card.
Step 3: You will be prompted to add the card details at this stage. You can manually enter the details or scan the card using the camera to use the photo detection feature and upload information automatically.
Do note that the photo detection works only for cards that have the digits embossed on them. If not, you will have to manually enter information.
Step 4: You will need to accept the Terms and Conditions to proceed. Tap on ‘Agree’. You will be prompted to tap on ‘Agree’ again.
Step 5: The card needs to be verified at this point. This can be done either via a text message or a call for most banks. For some banks, you can launch the bank’s app and the verification will be done automatically. Select the desired verification option and tap on ‘Next’.
Step 6: You will receive a call/text from your bank with a verification code. Tap next to enter the code. Enter the code in the required field on your iPhone screen. Tap on ‘Next’.
Step 7: Tap on ‘Done’.
After following the above easy steps, you will receive a confirmation message that your Apple Pay has been successfully set up and ready for use. You might also get a push notification from the card-issuing bank if you use the bank’s app.
Apple Pay is now ready to be used.
Adding Multiple Cards
If you want to add a new card or cards, the above steps can be repeated.
In case of multiple cards that have been added on Apple Pay, you can make one card as the ‘Default Card’ for faster payments. For this, go to Settings > Wallet and Apple Pay > Default Card. Select the preferred card and you are done.
Removing a Card
You can simply go to ‘Wallet and Apple Pay’ and tap on the card you want to remove, then tap on ‘Remove Card’ at the bottom.
How to Use Apple Pay?
Using Apple Pay is very easy. Just like you would take out your debit or credit card to make a purchase at a store, you can use your Apple Pay activated iPhone, too.
There are many stores and retail outlets that support payments via Apple Pay. These places will have a contactless card reader which can allow you to pay using the NFC (Near-field communication) chip inside your iPhone.
All you need to do is hold your iPhone over the contactless card reader and Apple Pay will automatically open on your device. When asked for authorization of the payment, you can use the touch ID feature and wait for a couple of seconds to ensure that the payment has been processed. If you have an iPhone X or later version, you can authorize payments using Face ID, too. When the iPhone is held near the payment terminal, unlock your device by looking at it and the payment will be processed.
For app purchases, the payment can simply be authorized using Face ID or Touch ID when prompted.
Will Apple Pay Work with a Phone Case?
Apple Pay should still work through most phone cases. The NFC chip should be able to be read through most protective phone cases, or through other accessories like popsockets. If you have other NFC cards in your phone case, however, card readers may pick up on both. Many public transit lines use NFC cards, so if you carry one in your phone it may complicate your ability to use Apple Pay.
Is Apple Pay Safe?
Apple Pay is extremely safe to use. It needs verification from the bank or the card issuer when you save the card details. After this first safety net, all future payments are authorized only through Touch ID or Face ID. Hence, it is quite impossible for someone to make payments even if you lose your iPhone.
Also, for each payment, Apple Pay uses the unique device number and transaction code. So, you can be sure that your information is protected at all times.
Conclusion
At the cost of being repetitive, Apple Pay is a very secure payment method. It is faster than using a physical card. You can use similar steps to set up Apple Pay on other Apple devices such as iPad or an Apple Watch too.
Learn other tech tips for your phone:


Add comment