
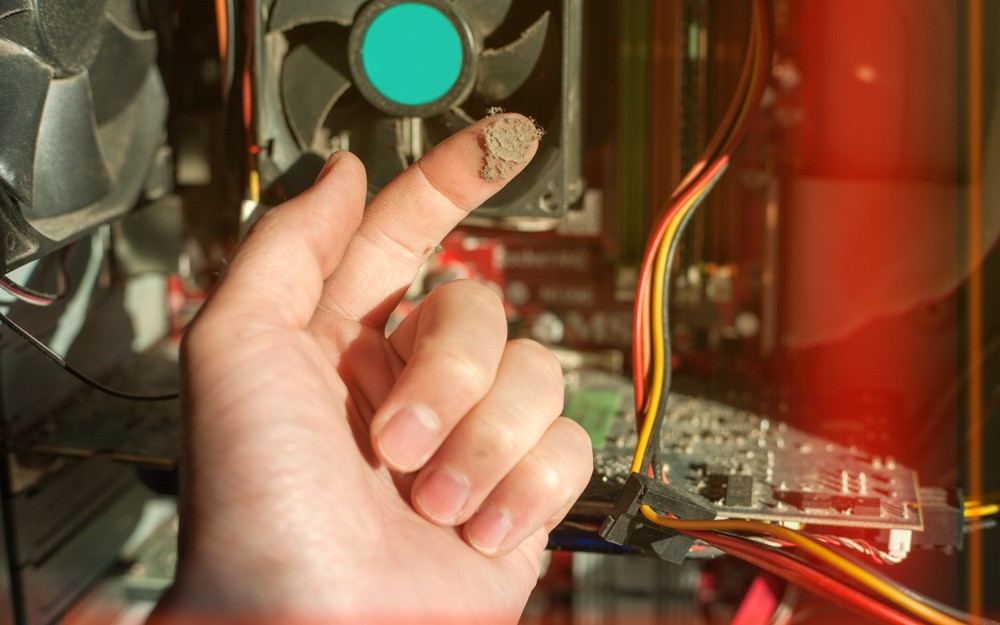
A computer needs to stay clean and cool – everyone knows that. Many people try to take the necessary basic measures to keep their computers clean. However, dust and dirt will eventually collect inside the computer, and it can cause a wide range of complications if left to linger. It calls for a thorough cleaning.
Cleaning a computer is a delicate task. However, you don’t need any special skills to do it. So, unplug your computer, set it on a working desk, and following this guide to the letter.
How To Clean a Gaming Computer
Take these simple steps to clean your gaming PC and keep it in good shape!
Step 1: Clean the Computer Case
The computer case is relatively easy to clean. You will need a screwdriver, soft cloth, soft brush, and compressed air.
Unscrew the case using the screwdriver – please note that some computer cases can be removed by hand. You will see dust all over the inside of the case, and you will notice it concentrated at the top and bottom.
Use the soft cloth to wipe off the dust. You will also need the sift brush to dislodge dust in the hard-to-reach-places and the compressed air to blow it away.
Check to see whether the fans are mounted to the case. In this case, you should use the screwdriver to remove the fans. The brush and compressed air will come in handy cleaning them. You can also wipe the blade using the cloth dipped in alcohol, but be gentle.
Step 2: Clean the CPU
The CPU is delicate, so be gentle how you handle it. You will not be cleaning the CPU itself – instead, you will be cleaning the cooler and socket attached to it.
Start by checking the manufacturer’s guide to see your particular CPU’s setup. Reference the manufacturer’s guide to disconnect the cooler from the motherboard. Hold the fan firmly but gently and use the brush to clean off the dust.
Next, use your fingers to hold the fan’s blade while you blow the compressed air over it to get rid of the remaining dust – the motor shouldn’t rotate from the compressed air as this may damage the bearing.
Finally, use the cloth dipped in alcohol to wipe the exposed surfaces clean.
P.S. You don’t need to remove the CPU to clean the cooler and fan. It is best to avoid contact with the CPU as much as possible.
Step 3: Clean the Graphics Card
The graphics card is delicate but easy to clean. You don’t even have to remove it from its socket, but experts recommend doing so.
Use the screwdriver to remove the screws holding the graphics card in place. Check for any other safety measures and pull the card out – please note that you may need to apply some force, depending on the make of your PC.
Start by cleaning the card’s back-plate using a soft brush – be extra-gentle if the card doesn’t have a back-plate covering the circuit system. Next, hold the fan gently and use the compressed air to blow off the dust. Finally, dip the soft cloth in alcohol and use it to wipe the fan’s blades clean.
Step 4: Clean the Power Supply Unit
The PSU is relatively easy to clean, but it is important to exercise caution not to damage any of the wires and cables. You don’t need open the PSU to clean it, so leave it closed to avoid any complications afterwards. You do, however, need to remove it from its socket.
The first step is discontenting all power connectors to and from other components. Use the screwdriver to get the CPU out of the case and be sure to check for any fail-safe safety pins.
Next, use the screwdriver to hold the blades in place as you blow compressed air through the fans to get rid of dust.
Finally, detangle the cables and screw the PSU back into its socket.
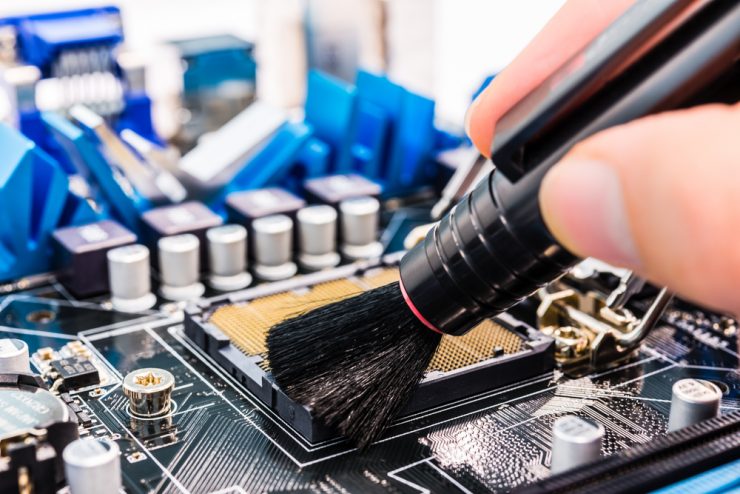
Step 5: Clean the Motherboard
The motherboard is one of the most delicate and fragile components of your computer. Fortunately, dust doesn’t collect on most motherboards because they are usually placed in a vertical position. However, it is still recommendable to get rid of the thin layers of dust that may have built up, as they will cause overheating if left to accumulate.
All you need to clean the motherboard is a fine brush and steady hands. Use the brush to brush away dust particles settles on the motherboard’s surface.
Take your time with the ports to get rid of any dirt particles lodged therein. You may also need to blow over the motherboard’s surface using compressed air, but this is not recommendable – adjust the air pressure to gentle if you must use it!
Step 6: Clean the Peripherals
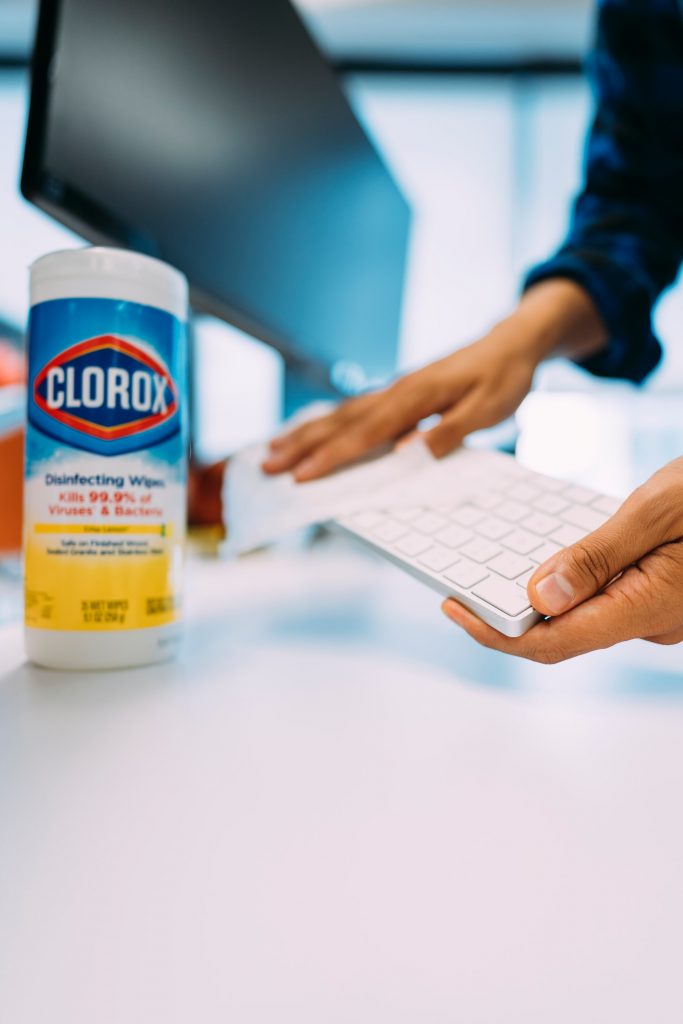
Cleaning the peripherals (keyboard, mouse, monitor, speakers, and any other external devices) should be a walk in the park, now that the delicate components are out of the way. Let your eyes guide you, and don’t leave any stain or speck of dust unattended.
You will need all your tools for this job. The brush will come in handy for dislodging dirt particles and scrubbing off hard-to-remove stains, while the compressed air will blow off the smallest dust particle. Finally, the cloth and alcohol swabs will leave the surfaces clean and shiny!
Step 7: Put Everything Back Into Place
You are not out of the woods yet – you still have to put your PC back together and get it running as good as new! This should be relatively simple – just follow the guide you used to unplug the components, but do it in reverse this time around.
Keep It Clean!
You should keep your computer clean if you want your gaming PC to last! It is recommendable to have a regular cleaning schedule – however, don’t hesitate to bring out the cleaning kit any time you notice dust accumulating.
Most importantly, keep your PC in a safe, clean, and cool environment to avoid repeating this more often! Finally, don’t be afraid to consult a professional if you are concerned about breaking your PC.


Add comment